
Ecstatica Enemies: Behavior, Threat Levels, and Survival Tactics
Ecstatica enemies populate the cursed village of Tirich, ranging from persistent pursuers like the stalker werewolf to lethal minotaurs, aggressive wyverns, and demonic imps. Surviving requires understanding their strike patterns, movement speeds, and specific weaknesses.
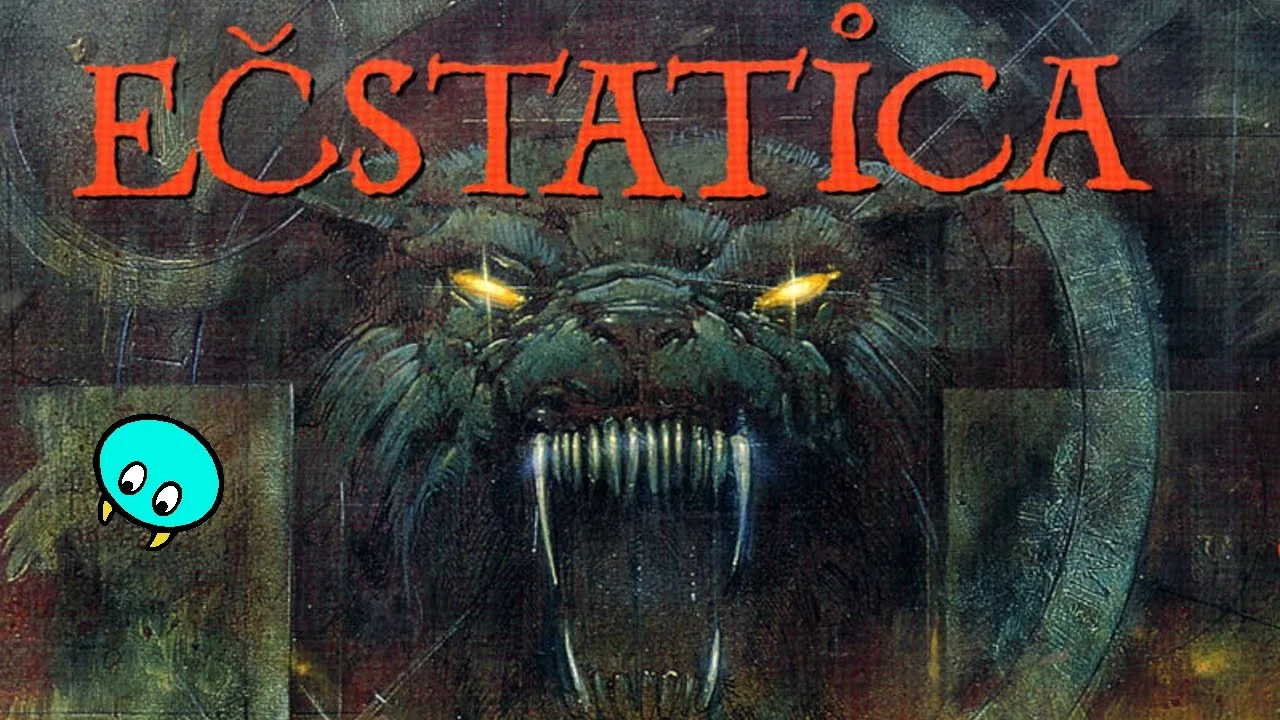
Ecstatica enemies populate the cursed village of Tirich, ranging from persistent pursuers like the stalker werewolf to lethal minotaurs, aggressive wyverns, and demonic imps. Surviving requires understanding their strike patterns, movement speeds, and specific weaknesses.
The Stalker Werewolf and Village Threats
The most persistent adversary in Tirich is the werewolf. Standing six feet tall, this canine beast operates as an active stalker throughout the settlement. The creature ambushes the traveler within minutes of crossing the broken bridge, dropping from rooftops or battering through barricaded doorways. His claw swipes inflict heavy damage, and losing a fight against him results in the traveler waking up bound upside down inside a stable or barn.
Evading the werewolf relies on terrain management and hiding mechanics. Moving into the shop allows the traveler to dive into a wooden vat, where the beast sniffs around before losing interest and departing. While the manual and early gameplay suggest the werewolf cannot fall in battle, persistent attacks can alter the encounter. Backing him into a corner and landing continuous strikes for several minutes forces him into retreat or causes him to collapse. Because the traveler carries only two items in hand, using swift strikes or sprinting past him to the church tower ladder remains the safest tactical response.
Trolls constitute the most common nuisance throughout the streets. These miniature humanoids carry small clubs and maces. Against the standard human traveler, troll blows inflict zero health damage, acting instead as physical obstacles that slow forward movement or set up ambushes for deadlier creatures. If the protagonist takes a smaller shape, such as the squirrel or frog transformation, trolls turn lethal and can eliminate the character quickly.
The village center also contains a giant four-legged spider that clambers over masonry walls. Though frightening in appearance, the arachnid possesses low endurance and collapses with a feminine shriek after a sequence of punches or sword swings. In the tavern and outdoor lanes, three distinct wyverns appear in green, red, and blue color variants. Wyverns hover just above ground level within reach of melee weapons but unleash sustained fire breath that drains health rapidly. Striking them immediately upon landing prevents them from completing their fire-breathing animation.
Dangerous Heavy Hitters: Minotaurs and Garden Beasts
The overgrown gardens between Tirich and the castle house the minotaur population. The game contains two distinct variants distinguished by behavior and coloration:
- The Brown Minotaur rests quietly on the grass and remains passive until the protagonist draws near. Once alerted, he stands upright and delivers heavy punches, but his pursuit speed remains slow enough for the traveler to outpace on foot.
- The Red Minotaur acts aggressively from the moment he enters the screen. Leaping into view, he charges at maximum running speed, making him the fastest terrestrial enemy in the game. Fleeing into the village boundaries causes him to break off pursuit, as he refuses to enter town streets.
In Ecstatica's residence, the traveler encounters the Pigotor, an intoxicated, bulky creature blocking the staircase to the upper laboratory. Clutching a drinking goblet, this foe remains seated and unleashes heavy punches if approached from the front. Stepping along the left wall permits the protagonist to climb the stairs safely, while slipping behind his back allows several strikes to neutralize him without taking damage.
Ambush Traps, Constructs, and the Executioner
Tirich conceals enemies disguised as inanimate fixtures. Inside the second village cottage, attempting to collect a dagger resting on a surface causes the Table Man to awaken. The piece of furniture sprouts limbs, insults the protagonist, and strikes with its front table legs. A brief sequence of punches breaks the creature down.
Deep below the monastery and castle grounds, additional entities patrol the dark corridors:
- Skeletons: Five reanimated skeletons occupy the catacombs beneath the church. Some arrive missing limbs or skulls. Their movement remains sluggish, making them straightforward to shatter with basic melee blows.
- Ghost Warriors: Two spectral sentinels guard the underground castle hall. Although their bodies are invisible, their floating swords, shields, and boots reveal their positions.
- Guardian Statue: A stone sentinel stationed in the lower halls that swings a massive mace when approached. The swing can be avoided entirely by using the duck command or by flying overhead on the broomstick.
- Dragon Wall Statue: A mounted carving that emits bursts of flame at passersby, knocking the traveler prone if hit directly.
- The Executioner: A lethal entity modeled after the male protagonist, wearing a red shirt and green trousers while carrying a massive two-handed sledgehammer. The Executioner cannot be fought. If the traveler equips the heavy white armor found in the forge and trips over loose stones, the Executioner appears instantly to crush the fallen character.
The Faun roams near the lakeside, playing melodies on a flute. Rather than inflicting physical damage, her music casts a sleeping spell on the traveler. Collapsing into slumber causes all held items to drop into the surrounding tall grass, where locating them against the green terrain proves difficult.
Enemy Tactical Decision Matrix
Managing encounters requires choosing between direct combat, active avoidance, and specialized gear according to the following behavioral profiles:
| Adversary | Primary Encounter Location | Recommended Tactical Action |
|---|---|---|
| Werewolf | Town streets, buildings, stables | Sprint past to ladders, hide inside vats, or stun-lock into corners |
| Red Minotaur | Castle gardens and paths | Flee toward village limits or blast with the consecrated relic |
| Brown Minotaur | Open clearings near stone circle | Keep distance around his resting spot to avoid triggering aggression |
| Wyverns (Green, Red, Blue) | Tavern interior, open alleys | Land direct melee attacks immediately before flame breath charges |
| Trolls | Village roads and grass borders | Ignore as human; flee immediately if transformed into small animal |
| Table Man | Second home interior | Duck under leg swings and strike repeatedly with fists |
| Skeletons | Church catacombs | Sweep through with running weapon slashes before being surrounded |
| Guardian Statue | Castle basement corridors | Duck under mace swings or glide overhead using the flying broom |
| Executioner | Monastery tunnel, forge area | Discard heavy white armor and never stumble in his patrol paths |
Boss Opponents and Supernatural Encounters
The final confrontation of the walkthrough occurs within the subterranean lair beneath the castle dungeons. Resting within a floating trance, Ecstatica remains trapped under the control of the Demon Lord. The demon initially manifests in human-like guise, inviting the traveler to sit at an ornate dining table tended by a skeleton waiter.
The demon presents an ultimatum, asking the traveler to surrender the holy relic bone in exchange for safety. Submitting triggers an alternate conclusion, whereas refusing causes the demon to shed his facade and morph into the Demon Dragon.
Engaging the Demon Dragon demands strict mastery of movement and defensive timing. The beast unleashes wide waves of flame that cover broad portions of the floor. The traveler must duck beneath the oncoming fire blasts using numeric controls and discharge the empowered relic acquired from the Stone Circle. Firing this transformed weapon repeatedly at close range staggers the dragon, eventually draining its stamina until the demonic entity collapses and releases the village from its curse.
Next step
Minotaur
Understand the differences between both garden minotaurs, learn when to run, and discover how to defeat them using late-game gear.